You can do a lot with filters in Luminar. If you’ve been using it for a while, you’ll know you can combine any number of different filters and filter settings to achieve a practically infinite range of effects. But did you know you can use the same filter twice?
So why would you want to do that? Well, sometimes a filter is just about perfect, but doesn’t go quite far enough. For example, take the Luminar Accent AI 2.0 filter (now added to both Luminar 3 and the Luminar Flex plug-in). The Accent AI 2.0 filter does a great job of analysing your image and selectively enhancing colours, contrast and tones in different areas. Sometimes, though, even if you push it right up to maximum, it just doesn’t go quite far enough. So what do you do? You use it twice!
Luminar 4 update
This tutorial was written around Luminar 3, where you could add multiple instances of the same filter. You can no longer do this in Luminar 4, but there is an easy workaround using Adjustment Layers. To add another instance of a filter, simply create a new Adjustment Layer and apply the filter on that. The outcome is just the same, and it’s still a useful technique.
- Luminar Neo review
- Luminar AI review
- Luminar 4.3 review
- More Luminar articles
- How to get/download Luminar
- Luminar tips
How to double up on filter effects in Luminar
Time needed: 5 minutes
How to double up on filter effects in Luminar
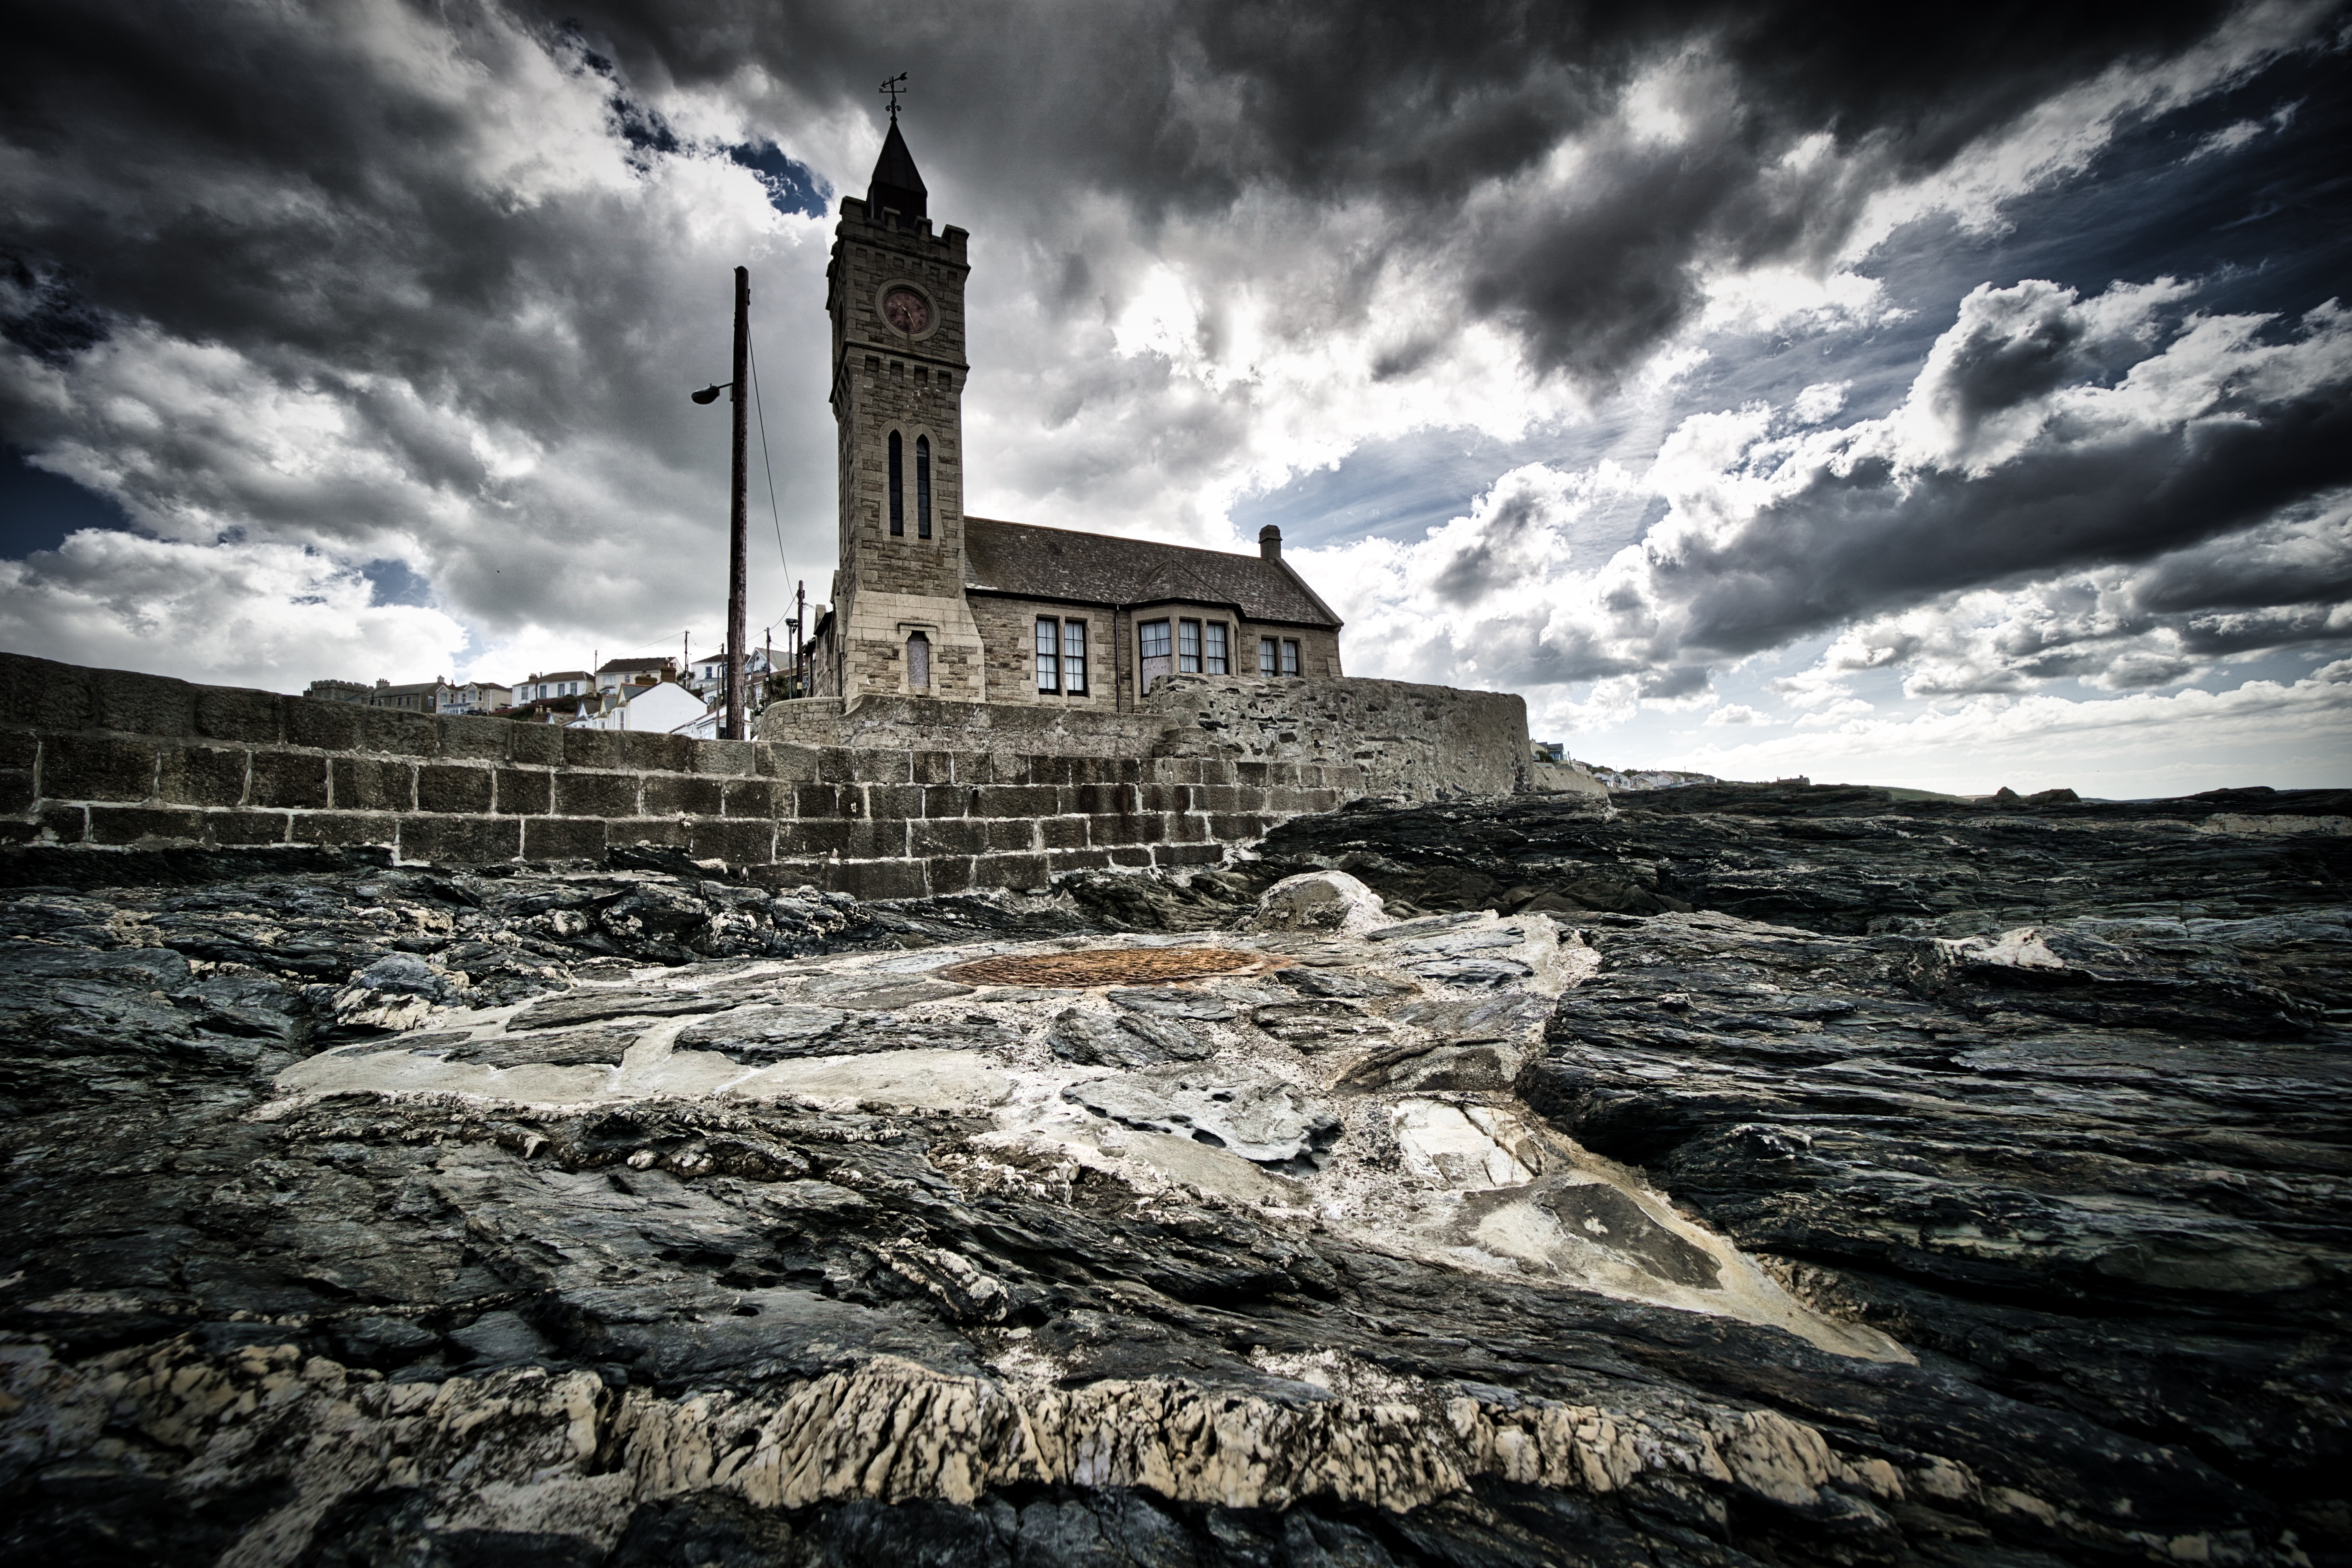
- Here’s our start shot
It was a stormy day with rapidly changing light and a dramatic sky. At least, that’s how it looked if you were there. Cameras are very literal, boring things, though, and what it has captured looks quite flat compared to how it looked. They say the camera never lies, but it can certainly be pretty boring.

- The Luminar Accent AI 2.0 filter
So the first step in Luminar is to open the Workspace menu and choose Clear Workspace. We don’t need a whole lot of filters right now, we just need one in particular. So we click Add Filter and choose the Accent AI 2.0 filter. If we push the Boost slider right up to maximum we see an immediate improvement… but it’s still not quite enough.

- Luminar Accent AI 2.0 filter x 2!
So we add the filter a second time! You might expect that Luminar would politely remind you that you’re using that filter already, but in fact it lets you use it a second time. Obviously, there comes a point when repeatedly applying the same adjustments will degrade the image, but right now it’s more important to inject some life into this shot than it is to worry about the finer points of technical quality.
- Time for a Luminar ‘look’
Our shot looks much better with the Accent AI 2.0 filter applied twice. The top of the church tower has been darkened a little too much perhaps, but what we’re trying to achieve here is a strong visual effect, and it’s easy to get distracted by details that aren’t going to matter too much. So now what we need to do is choose a Luminar ‘look’ to finish the effect, and the key here is to create a new Adjustment Layer first. We want the Luminar look to be applied to a new layer and not interfere with the Accent AI 2.0 filters we’ve already added. The Dramatic Look preset works really well with this photo – you can see before-and-after versions of the photo with the split-screen button on the toolbar running across the top of the screen.


So here’s the finished image (below). It’s perhaps a little overcooked for some tastes, but that’s been done to exaggerate the difference between the original shot and the edited version.
The point of all this is to show firstly how effective the Accent AI 2.0 filter is at automatically enhancing images, but also how an enhanced image makes a much better basis for applying a Luminar look than one that’s a bit flat-looking (like our ‘start’ shot) or has other issues.
You might also want to try doubling up on Luminar looks, too. You can add a second ‘look’ on an additional Adjustment Layer and change the opacity and the blend mode (or even apply a mask) to control how it interacts with the layer below.